
Thursday, September 20, 2012
I'm back and i'm more upgraded
Hello for those of you who are reading this post! Today is the third week of my CISCO Academy Progress, and I must admit CCNA1 hasn't been fully completed for me. My new goal for today is to keep improving or patch up any missing information I came to miss from last school year. I'm hoping for the better to be able to reach my goal for this year and to also start a new technology club called Tech Squad Rebooted. One of my former CISCO teacher's already applied for grants to help subsidize the club. I'm really hoping this club can get through because not only will it help improve my technology skills but it will also help other students. This is gonna be a good school year....
Wednesday, May 9, 2012
Packet Tracer# 7.1.5.2: Verify Non-Convergence Using Commands
In this Packet Tracer what i did was test out the network and identify the problems in the simulation mode. First i did show ip brief to show me everything that was configured for the the network according to R2. After managing that everything was good, i pinged to 172.30.1.1 & 172.30.100.1 and found that it was successful but there was still a problem. When R1 pinged to 172.30.100.1, it completely failed so i examined the route to R2 using show ip route and found that there is no route to network 172.30.100.0/24, so pings to that network will fail. The problem with network was that simple non convergence so i input the configuration to R2 and it was successfully functioning correctly.
Packet Tracer# 7.2.4 Configure RIPv2

For this lab all i did was change the RIPv1 version to RIPv2. RIPv1 is a classfull routing protocol that sends an update to every router with the same subnet mask every 30 seconds, but it doesn't send subnet mask information. RIPv2 does send out subnet mask information (Which was an improvement of RIPv1) to the network every 30 seconds and it's classless. RIPv2 also supports EIGRP , & OSPF, which RIPv1 didn't support for it's networking updating and it also supports VLSM (Variable Length Subnet Mask). I also had to turn off the automatic summarization of the network using the command: no auto summary. I use the command: version 2 to change the RIP version to RIPv2.
Monday, May 7, 2012
Packet Tracer# 7.4.3.2 Routing Table Corruption
In this packet tracer my job was to basically setup a default rip route, setup static routes for the ISP, turn every port status to up, and to setup a rip route. What my first priority was, is to turn on every port status so that there is a valid connection and so that i know if i can ping to the other routers. After doing all of that with the command no shutdown, i went straight with the rip routes. What RIP does is that it sends an update to the routers that you configured every 30 seconds for a network change. So after configuring every router with a RIP route with network (The network Address) i wanted to setup a default origin in the ISP. Since the ISP needed to know what is being changed in the network i had to make that the default information origin. I used the command Default-Information originate in the configuration terminal of ISP to setup the RIP default router. Finally, i made the static routes from ISP to every device that was in the network so i can ping and have communication to them. That's what Routing Table Corruption was basically all about, to fix anything and making sure the network was being updated.


Wednesday, April 4, 2012
My First Network Topology
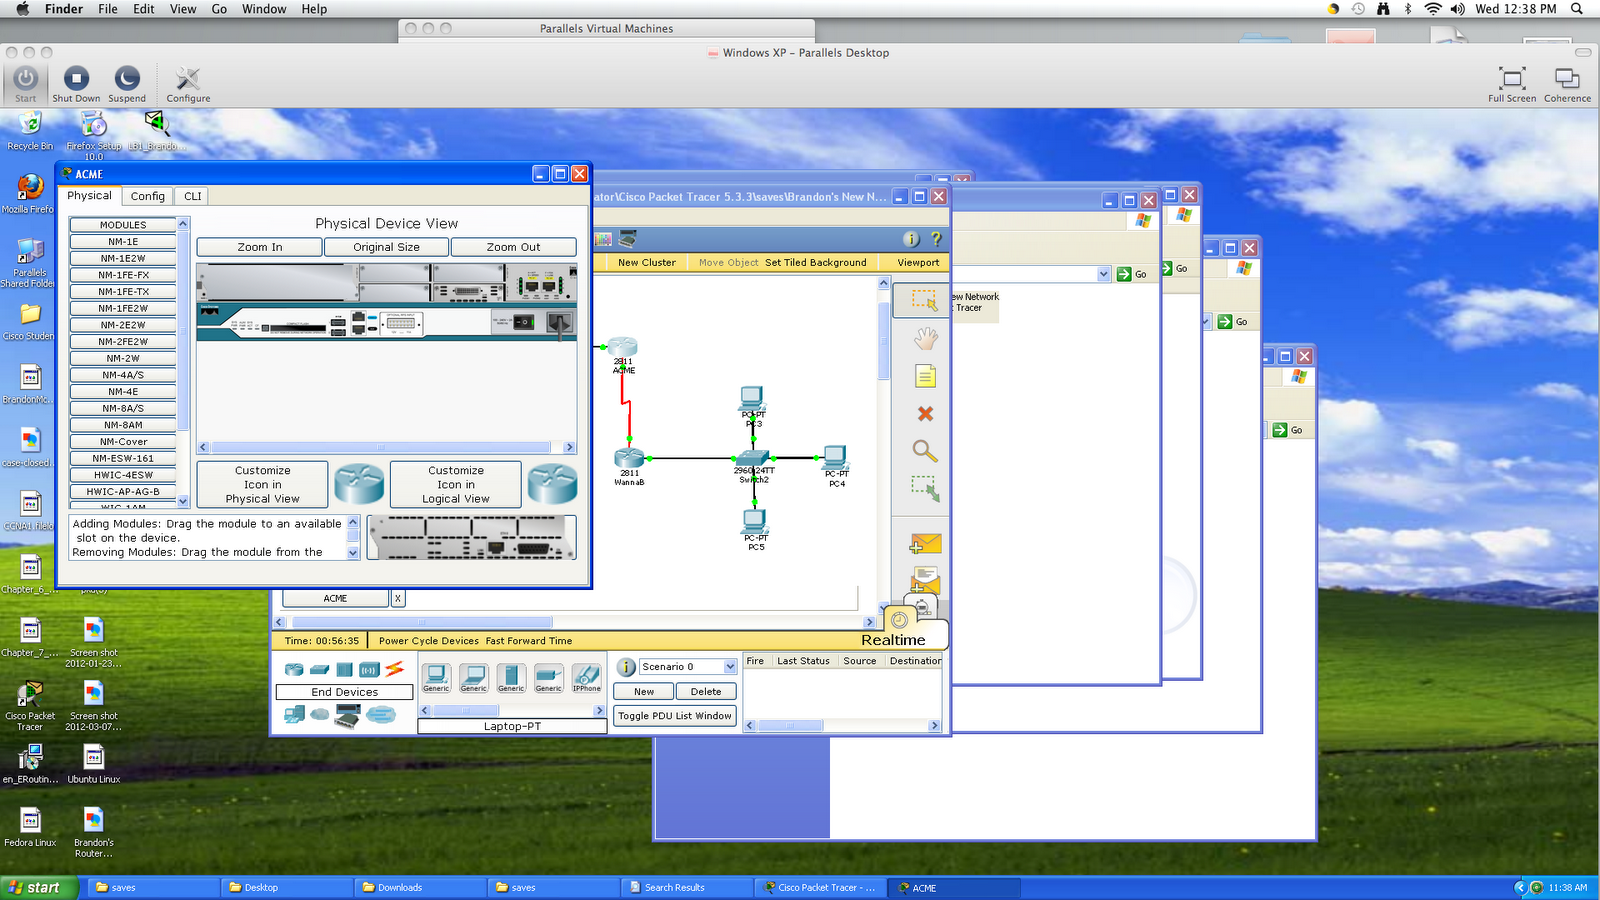
Here are the screenshots of my network! I secured passwords for my routers, routed direct ip's from one end of the network to the other, setup a dhcp ip for the server, and learned the basic commands for configuring a router. Here is a screenshot of my router....

First i will demonstrate the first router as an example of simply configuring, i will also free post up commands and what they do.
First thing that i do is setup a password for the User, Privilege, Console, and Configuration modes; i don't want people editing my router so i put in a password. Here are my Statistic of my configurations.....
Ports...
Passwords....

Banner....


Now I will demonstrate my WannaB Router Statistics. This is pretty much the same thing....
Ports.....

Passwords......

Banners......

Thursday, March 22, 2012
PT 4.4.1 Packet Tracer: Routing Loops
In this packet tracer we will identify what routing loop does to the network and what functions to take when a routing loop occurs. Routing Loops occur when there is an invalid static route or route in the network, when there is an error in the network the packet is then being constantly messaged through the network until it is eventually terminated. You can verify this using show run and ip route to check what the error is. The error in the route was Serial route 0.0.0.0 0.0.0.0 serial 0/1 had to be configured into the network; as a result of this direct conflict i used config t to enter in the ip route 0.0.0.0 0.0.0.0 0/1. After completing that, i could ping thorugh the network perfectly.
Thursday, March 15, 2012
PT 3.4.4.2 Packet tracer: Viewing Routing Table Information -show ip route
Basically in this packet tracer, we are suppose to learn how we use show ip route and what the routing table actually represents in the network. show ip route gives you 2 addresses that show the source and the destination ip; but there is also something that is highlighted in brackets that is also important. For example, have you ever seen this next to the source ip [1/0]? You have! The 2 numbers are the AD (Administrative Distance) and the hop count (Which is the 0). To change the routes from static or directly connected just put in show ip route static/connected.
PT 3.2.5.2 Packet Tracer: Convergence
My Objectives for this Packet Tracer is to...
______________________________________________________________________________________
-View the routing table on a converged network
-Add new LAN to topology
-View debugging output
-Watch the network convergent process
-Putting a new Network in an existing one
What was learned via RIP updates for Router 2? What i learned was that both router 2 and 3 were on the same subnets via 192.168.1.2 Serial 0/0/0
What network was learned via RIP updates for Router3? The network that was learned through Router2 and 3 was that they are in the same LAN network.
Next i add a switch (followed by a host) to router3 so i can have an extra subnet with another host. After that i use ip configuration to enter the new network information for PC2 (Which is the new host for the switch). What was new was i had to use router rip to add the new protocol into the connected network. Next i view the debugging output for the network in all of the networks. Finally, i turn off the debugging and i ping from PC2 to PC0 to see if my new whole network works.
Wednesday, March 14, 2012
PT 3.2.2.2 Packet Tracer- Characteristics of IGP & EGP Routing Protocol
In this Packet Tracer my objective is to...
-Investigate Autonomous System 1
-Investigate ISP Router (Internet Service Provider)
-Verify Connectivity among devices within AS1
-Verify Connectivity from PC1 to ISP Router
-Create default routes between AS1 routers and the ISP Router
-Create Static Routes on the ISP router to reach the network within AS1
-Verify connectivity from AS1 devices to ISP routers
First step to solving this packet tracer is to investigate AS1 which means autonomous system 1. An autonomous system is a group of routers under the control of an Administrator. The second step, is to investigate the ISP router which is the Internet Service Provider. Then finally Verify the connectivity to see if the newtwork works.
Friday, March 9, 2012
PT 2.2.3.3 Packet Tracer- Configure Ethernet IP on Hosts and Routers
Basically in this packet tracer i had to configure the ethernet ip's and ports so that way the hosts in the LAN network could be able to communicate. The first thing i did, was i entered the IP host gateway, subnet masks, and IP addresses; Simply put. Next i went into the terminal and ip configed it to the routers, the other configuration was from the PC's. After i was finished i checked my work. The whole point of this packet tracer was to enter in the configuration so that the hosts in the LAN network may communicate.
Friday, March 2, 2012
PT 1.5.2.2 Packet Tracer- Basic Router Configuration
In this Packet Tracer i had to cable the whole network, erase and reload the routers, and test to verify. First i obviously cabled the network first, i then configured the network to make a path. Last, i tested using show ip routes to verify my network works.
PT 1.5.1.2 Packet Tracer- Cabling a Network with Routers, Switches, and Hosts
In this packet tracer all i had to do is connect the cables using the correct cables. I will put a list of all the connections for each of the devices.
R1-S1 straight through cable using FastEthernet 0/0 to Fast Ethernet 0/1
Straight through cable through PC1 FastEthernet 0/2 to S1
Crossover cable from R2 to PC2 using FastEthernet 0/0
DCE from Serial 0/0/0 of R1 to DTE Serial 0/0/0 of R2
And the rest is from the router configuration which can be accesss to the IP table in the Packet Tracer.
PT 1.4.3.2 Packet Tracer- Equal Cost Load Balancing
For this lab i had to examine the network because it was already set up. There was no problem with the network when i examined the Equal load Balancing. I examined the network by using the command show ip routes and the simulator.
PT 1.4.2.2 Packet Tracer- Determine Best Path using Routing Tables
In this packet tracer everything was provided to me, all the routers already had an IP setup so i didn't need to configure it. The network was using Connected routes, Static Routes, and RIP routes which made the network work altogether. Basically it taught me which route was the quickest to reach the end and the host devices.
PT 1.3.5.2 Packet Tracer- Routing Table Principles
In this packet tracer you learn more about what the routing table is used for and how the routers use this as a principle. My first step was to figure out why PC1 cannot hop to PC3. I pinged PC1 to PC3 and configured the routing table for an easier path, 192.168.4.10. After that, i had to see is my routing configuration was a success by using the command show ip route. As a result, it gave me the path i correctly punched in and i pinged to PC3 (Which then worked).
PT 1.3.4.2 Packet Tracer- Dynamic Routing
So in this packet tracer i will be able to learn and describe how the routing table contains both dynamic routing and static routing. In this routing packet tracer, dynamic routing is basically an easier way for the network to gain a path automatically from other routers and to establish an easier routing path or the best path to take to the end user. In order to attain this procedure you must configure RIP within each of the routers and look at the ip statistics to see if it worked.
Thursday, March 1, 2012
PT 1.3.3.2 Packet Tracer- Static Routing
In this Packet Tracer i will be able to how routing tables can use and obtain static routes and be able to explain the routing table when i hit show ip route. First step to this Packet tracer is to configure the table for R3 and add an ip route that is 192.168.3.0; this allows a connection for the subnet to R1. When i command show ip routes it gave me this static route 192.168.1.0/24 [1/0] via 192.168.3.1. When i pinged the router to the address 192.168.1.10 it was not successful because there was no route between R3 and R1. After examining the problem i added the route 192.168.3.0 to R1 so that way i can bridge a connection to R3; after completing what i was suppose to do when i hit show ip route i saw my route was successful. To test out the network i pinged the signal to the R1 subnet and the ping was successful; it had an 80% success rate while making a round trip. Therefore, what i have learned was that static routing in the table allows you to connect and configure the whole network for a complete connection.
Wednesday, February 29, 2012
PT 1.3.2.2 Packet Tracer- Directly Conncted Routes
In this packet tracer i will be able to describe the function of the routing table and how the router manages directly connected routes in the routing table. My first step is by enabling the Fast Ethernet interface in R1 by using CLI and using the command interface Fastethernet 0/0 and no shutdown. After i did all of that i check the ip routes for a second time and it gave me the response 192.168.1.0/24 is directly connected, Fastethernet 0/0. After seeing the ip route i did the same thing for R2 except the ip this one is routing towards is 192.168.3.0/24 is directly connected, Fastethernet 0/0. The reason why i only had 1 route in the table for each router was because there was only 1 path for the network to hop towards, there was only 1 cable connecting towards a router so therefore it can only take 1 route. The other IP addresses can ping towards each other because i allowed the interface to go or hop towards the next router so it may then choose a path to go to the other PC.
PT 1.2.2.4 Packet Tracer- Configure and Verify R1
In this packet tracer, all of the devices were connected properly and i just had to configure R1 which was the host router. After i configure the router i needed to check the statistics to see if what i have configure has been implemented into the router. I needed to also put in the IP addresses into the router that was given to me on the table, however in this packet tracer i learned a new command code, which was log in banner so that unauthorized access is prohibited. When i was finished i saved it to the NVRAM which sends a copy of the messages to the other devices.
PT 1.2.1.2 Packet Tracer- Connecting and identifying Devices
In this lab my assignment was to connect all of the devices and identifying which cables and ports i am suppose to connect them to. This was simply easy, then i had to change all of the device names to something that can be easily recognizable. Finally i had to set the clock rate to the one given to us and plug in all f the IP Addresses in the chart.
PT 1.1.5.4 Packet Tracer- Using Packet Tracer Device Tabs
This is the outline of today's Packet Tracer
Place and connect the router.
• Place the router in the topology.
• Add a module.
• Connect the router to the neighboring devices.
• Perform the basic configuration.
• Change the router names.
• Configure interfaces.
• Complete the configuration.
• Add passwords.
• Verify the configuration.
This was my first time making a fully stable network from scrap. All i am given in this situation was routers and switches and end devices. I had to know what cables i needed to connect to different ports, i needed to give them ip addresses, i needed to configure the router, and i need to put names for each device. First thing i did in this Packet Tracer was i connected each device together and added a router and enabling it. Then i managed my configuration by setting up new passwords and testing out my network statistics. Then i tested the network to see if it works by using Check Results and simulation; the Test was success.
PT 1.1.5.3 Packet Tracer- Cabling Devices
This was probably the most simple packet tracer of them all. It mostly deals with the physical layer of the OSI model because all you have to do it connect all of the devices to both routers. I first connected the PC to the hub, then to the router, from the router to the switch; then the switch to the other 2 routers and end devices.
PT 1.1.4.3= Packet Tracer Using Setup Mode
Basically, my assignment was to configure my router and setting up passwords for it. I also learned some new codes while configuring the routers such as enable, enable secret, erase startup-config, show running-config, and check results. All of these codes will help benefit me to configure future routers to give myself access to the router with security. Although the passwords for the routers were quite simple, in the real job i would have to make them more complex and difficult because hackers can easily trace down or decode the passwords information if the password is too small or doesn't use a variety of different symbols.
PT# 1.1.1.5= Packet Tracer: Corporate Simulation
In This Packet Tracer All connections seemed to be working correctly. The packets were being sent fluently through the network without a problem. All the routers, servers, connections, switches, sub-nets.etc. What i first did to diagnose the network was doing the packet simulation. The Host computer was sending out a frame that tested the whole network which presented in a fully functional LAN
Monday, January 16, 2012
Web Seminar Essay on Carlos Dominguez
Last week I was tuned into the CISCO seminar which was hosted by Carlos Dominguez, and my opinion on the seminar was that it changed my views on what i would become in the future. Carlos Dominguez presents his seminar with many interesting things. Most of which, he talked about his personal life, personal experiences in networking, and how he became the person that he is today. My experiences as a CISCO student so far, makes me think about how i can improve on my ability to work with others, myself, and for other people. It may sound quite simple at first, but Carlos Dominguez's experiences say otherwise.
Who is Carlos Dominguez you ask? Carlos Dominguez is the Vice President of CISCO and he has many years of experience in the networking field. Carlos Dominguez tells us of how technology innovates culture, and has the ability to create successful companies. For example, lets say you just created an expensive restaurant, but isn't special or unique than the restaurants you are competing against. Then you are going to have trouble generating profits from consumers and having more demands from your customers (If you even have any). With the latest 21st century technology, networking can help innovate your restaurant even further with unique ideas to help bring culture to your business and happiness to your consumers. The internet has the ability to not only attract customers to you, but bring the restaurant to your customers by designing your very own website and having to put your own ideas to the world.
Carlos Dominguez also expresses how to become a change agent and what the significance of a change agent can provide to influence other colleagues to the companies advantage. How do you define what a change agent is? A change agent is an individual who can mentally, physically, and triumphantly solve goals that were forced on them themselves. Change agents go farther than their comfort zone because they know they can make the change they want, and they know it has to be done to reach any goal they could accomplish. Change agents also, make changes not only for their jobs to become more easy, but for their lives to be more motivating and awe-inspiring. They help influence their social peers to become more productive, and they make everyone's job more co-operative so that they may get to their milestones as a team. Change agents also have good abilities to lead, an easy way of describing a change agent would be a revolutionary.
I agree with Carlos Dominguez on his views of what a change agent would be. It is in my honesty that change agents are the stepping stones of success and how successfully companies become astonishing with their business. They know how to work as a team, they know what their responsibilities are, and they can successfully meet their goals through mental thinking. In my opinion, Dominguez describing what a change agent, inspired me the most to think about future goals i want to accomplish. If i start working on my "changing" skills, i should start by making the change myself and right now. Could it follow the footsteps of Carlos? I would think of Carlo's career to be out of my interests. I want to become something different than Carlos, but his career in networking isn't bad in my opinion. Although, networking wouldn't be my best major to focus with in the future, i have other plans to begin in college.
In conclusion, i agree with Carlos Dominguez, and Carlos inspired me tremendously on how to think about the future ahead of me. It is in my best ability, to withstand any obstacle in the future to reach my highest goals, and through becoming a revolutionary is the first step. I need to create more goals than what i already have to challenge myself at my best abilities. Like Carlos, planning a future isn't going to easy, it takes time and a lot of effort into becoming what i want to be. However, if i at least try to make the change for myself, i believe anything is possible.
Friday, January 13, 2012
Chapter Case Study #8
a) What's the name of this kind of interface?
- The name for this kind of interface is called cross-talk-interface
b)Explain why it can slow down the network traffic.
-The reason why it can slow down the traffic is because, the number of packets being sent at a time decreases the service of sending and receiving packets. The network was also using CAT-5 UTP which doesn't have shielded protection, which means it is subjected to external interfaces which may cause corruption with in the traffic.
c)Would the result of the test be any different if the networking cable was running next to a just installed small alarm clock instead of an A/C unit? Why?
-Yes, because an alarm clock doesn't use a lot of noise frequency and isn't being used for the majority of the time. The A/C however, is on for the most part and it uses a lot of power to generate sound frequencies, these sound frequencies are subjected to interrupt internal traffic within the CAT-5 UTP cable.
Subscribe to:
Posts (Atom)